A Step-by-Step Guide to Installing a Wood Pellet Heating System


Understanding Wood Pellet Heating Systems
Wood pellet heating systems have gained popularity due to their efficiency and eco-friendliness. These systems use compressed wood pellets as fuel, which are both sustainable and cost-effective. Before diving into the installation process, it's essential to understand how these systems work. Wood pellet boilers function similarly to traditional heating systems but offer a more environmentally conscious choice.
Preparation and Planning
Proper planning is crucial for a successful installation. Begin by assessing the heating requirements of your home. This assessment will help determine the appropriate size and capacity of the wood pellet heating system you need. Consider consulting with a professional for an accurate evaluation.
Additionally, identify a suitable location for your boiler. It should be in a well-ventilated area with easy access for maintenance and refueling. Ensure you have enough space to store the wood pellets, typically in a dry and secure location.
Gathering Necessary Tools and Materials
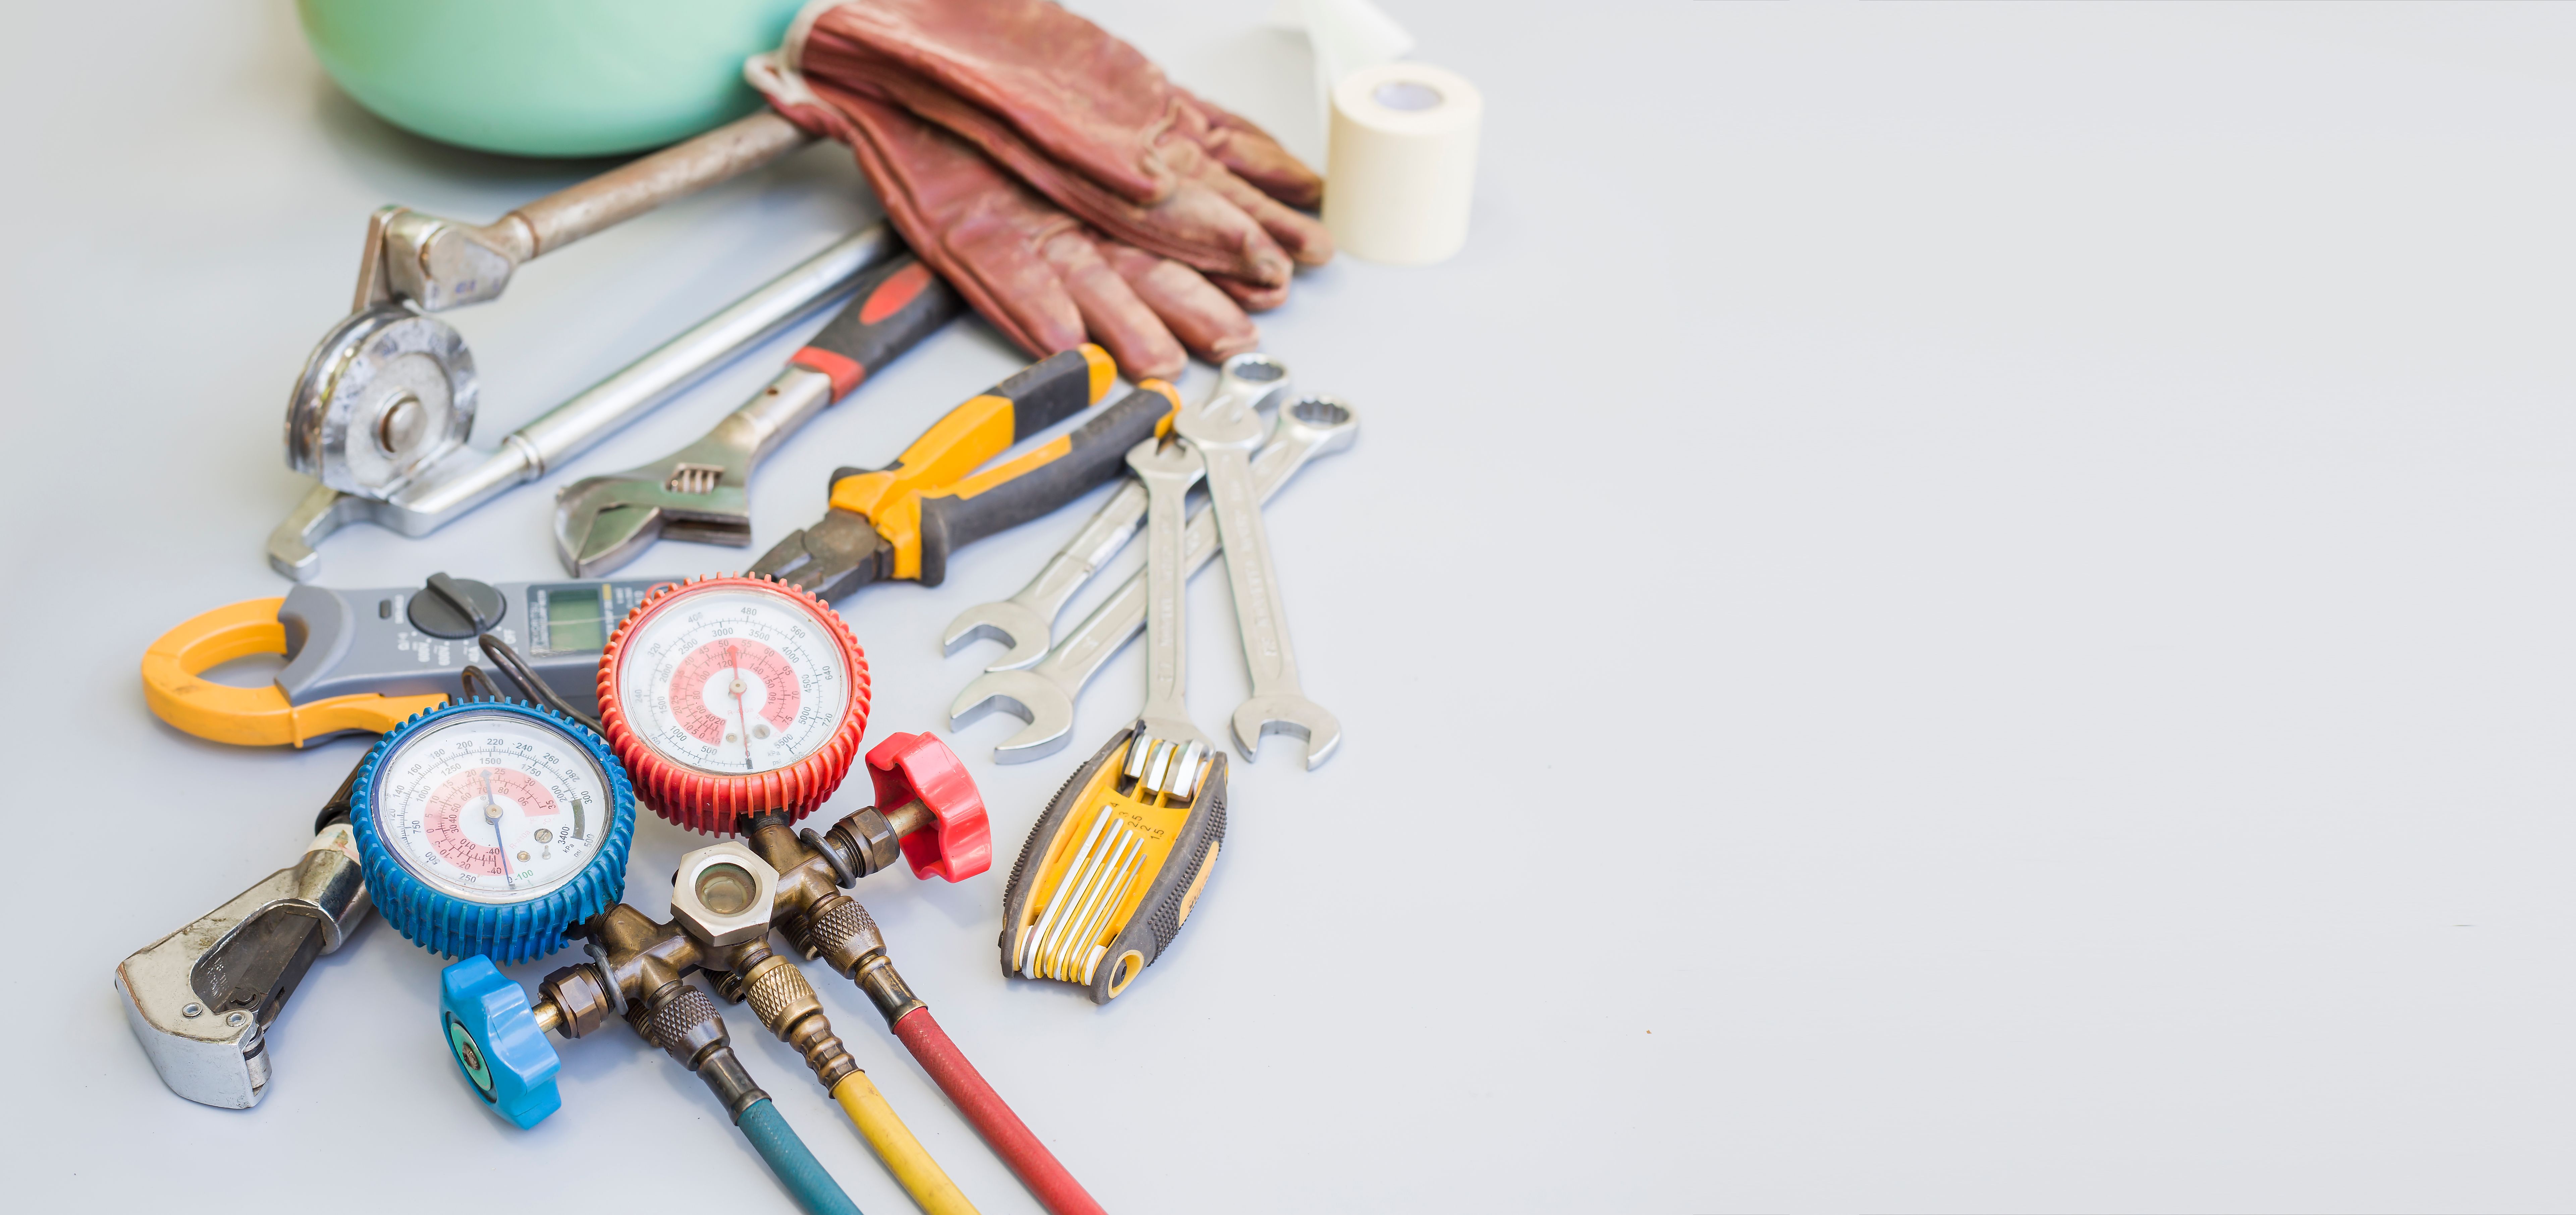
Before starting the installation, gather all the necessary tools and materials. Common tools include:
- Drill
- Screwdriver
- Wrench set
- Level
Besides tools, you'll need materials such as connectors, pipes, and, of course, the wood pellet boiler itself. Having everything on hand will streamline the process and prevent unnecessary delays.
Installation Process
Once you have all your tools and materials, you can proceed with the installation. Follow these steps carefully:
- Mount the Boiler: Position the boiler in the designated area. Use a level to ensure it's properly aligned.
- Connect Plumbing: Attach the necessary pipes to integrate the boiler with your home's existing plumbing system. Tighten all connections to prevent leaks.
- Install Ventilation: Proper ventilation is crucial for safety. Install flue pipes to vent exhaust gases safely outside your home.

Connecting the Electrical Components
The next step involves connecting the electrical components of your wood pellet heating system. Ensure that all connections are secure and adhere to local electrical codes. If you're not confident in handling electrical work, it's best to hire a qualified electrician for this part of the installation.
Testing and Final Adjustments
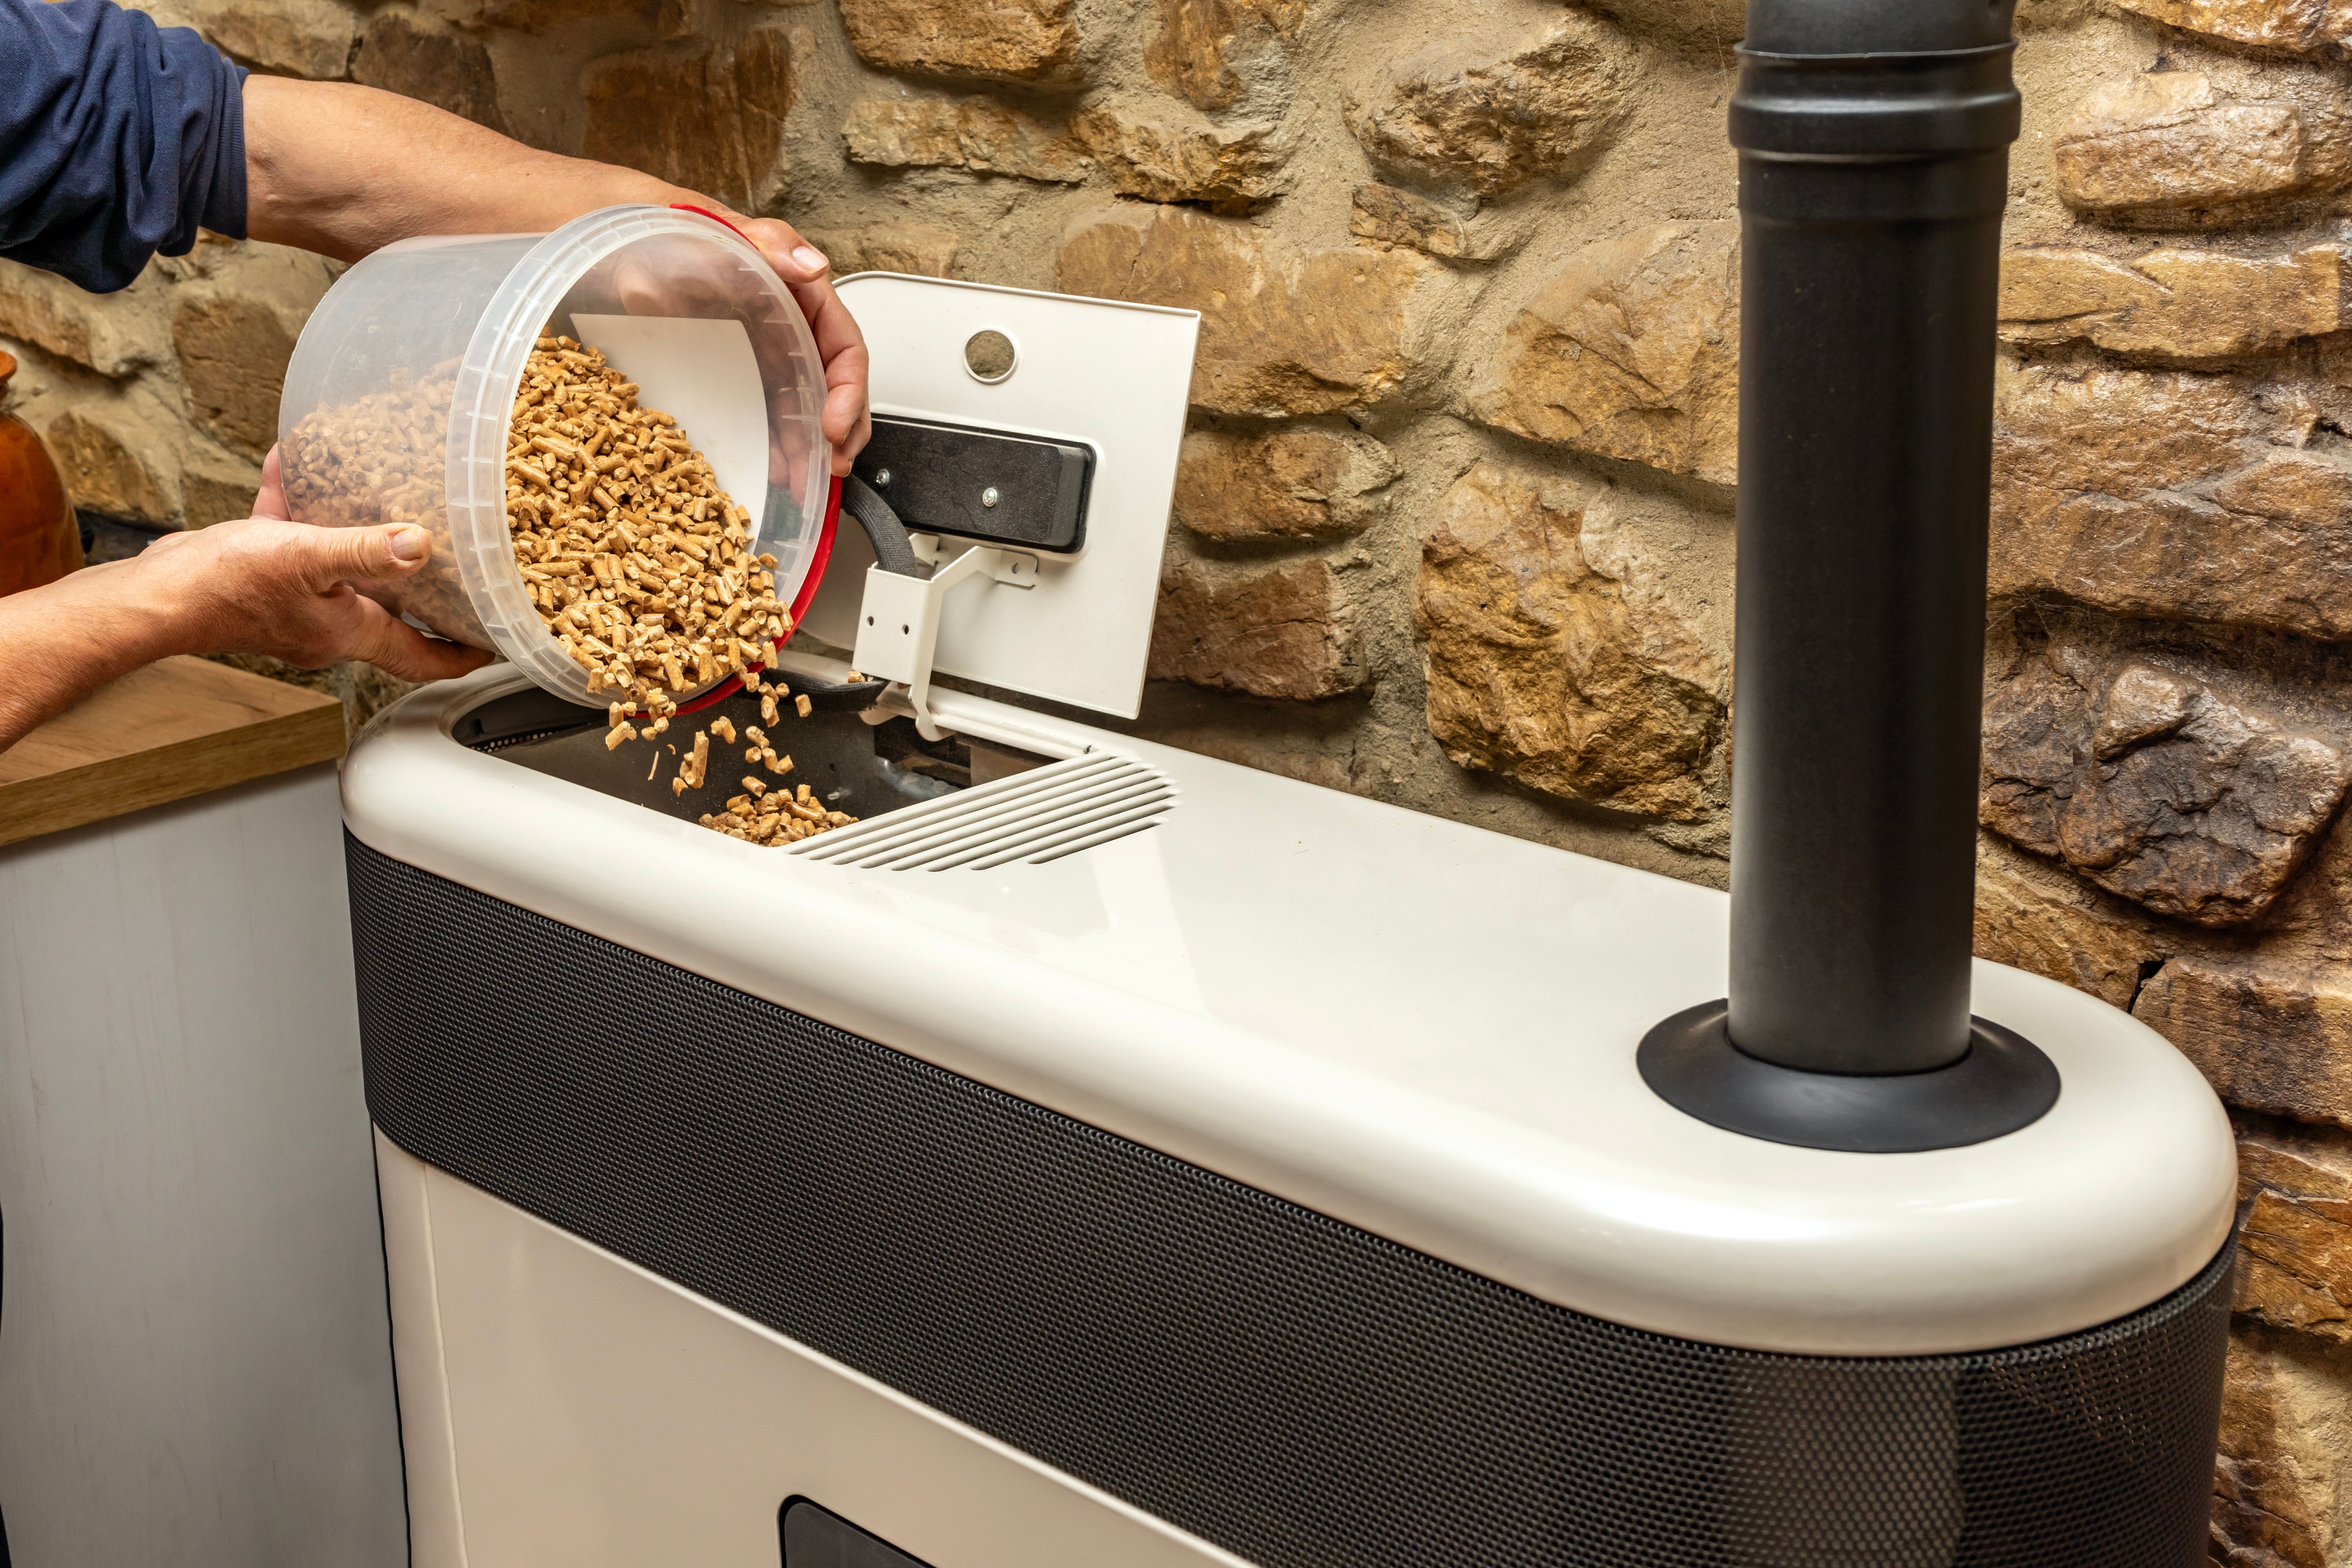
After completing the installation, it's time to test the system. Fill the hopper with wood pellets and start the boiler according to the manufacturer's instructions. Monitor its performance closely, checking for any leaks or unusual noises.
Make any necessary adjustments to optimize efficiency. This may include calibrating the thermostat or adjusting the feed rate of wood pellets into the burner.

Regular Maintenance Tips
Once installed, maintaining your wood pellet heating system is crucial for its longevity and efficiency. Regularly clean the ash pan and hopper to prevent blockages. Inspect the flue pipes for any soot buildup and clean as needed.
Annual professional servicing is recommended to ensure optimal performance and address any potential issues before they escalate.
By following this step-by-step guide, you can enjoy a warm, efficient, and environmentally friendly home heating solution with your wood pellet heating system.